NATHEN VIZER
3D Character / Hard Surface Artist
RoboGirl
Polycount: 94K
Timespan: 3 1/2 months
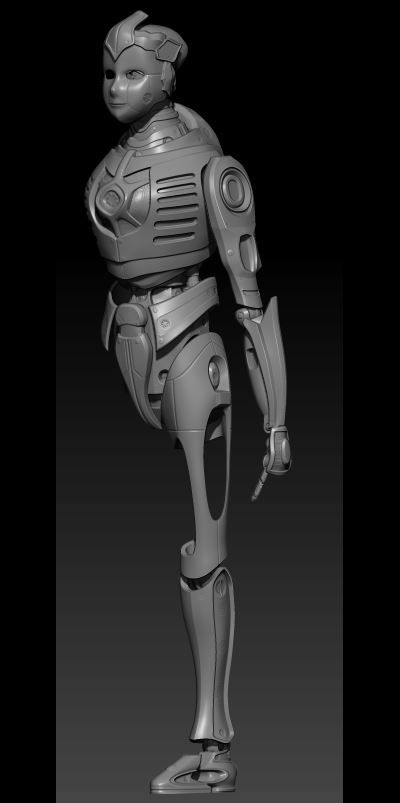
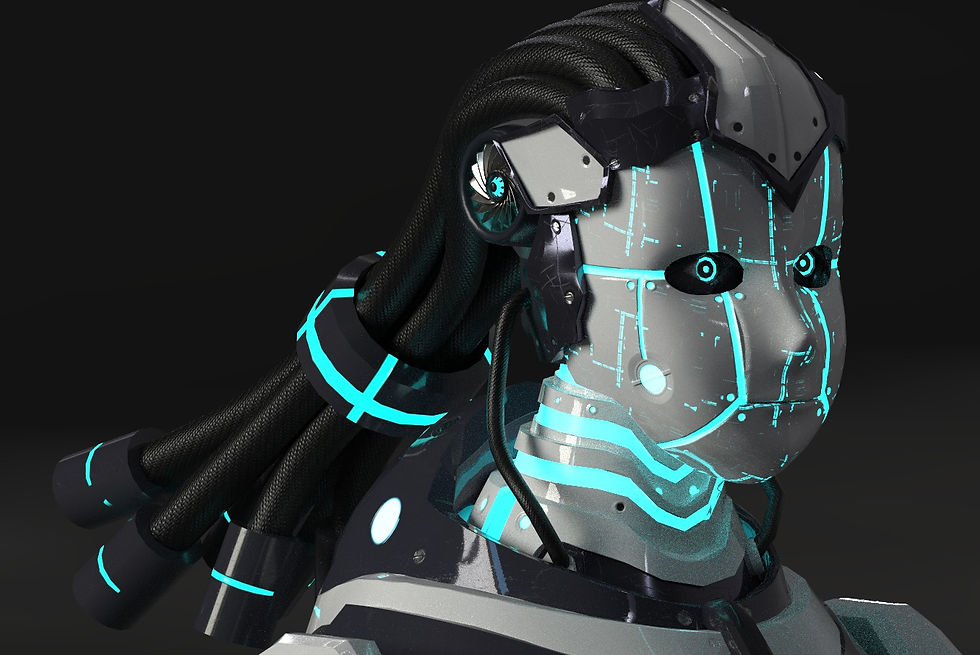
Intial Concept was that i wanted to make a Robot girl for my hard surface assignment back in term 3. i wanted to go for a design like the clean white human robots like in iRobot but also the creepyness of one like in Ex Machina.
But as kept i worked on i decided to make her like a Doll bot with the feature which lets me get away with the creepy factor without damaging what i was going for.


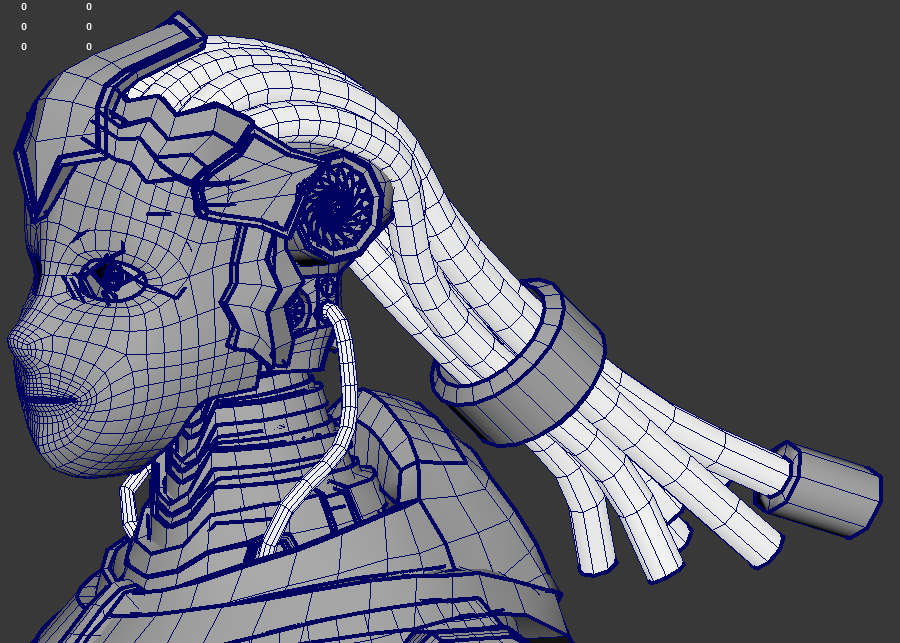


Modelling
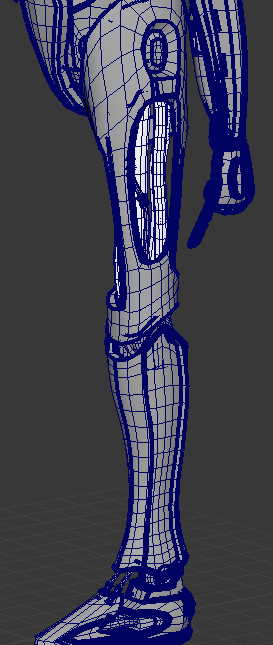
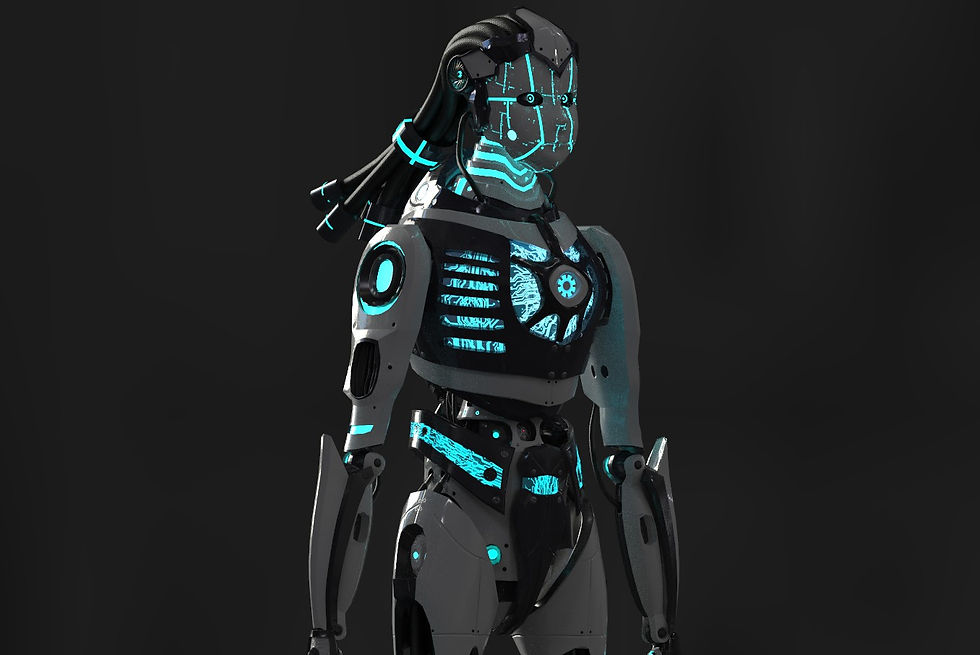
I started off in Maya by modelling out a female base mesh and then quad drawing on it so i could make robotic pieces that are shaped to the figure.
With this i made a lot of tweaks and extra Geo to her design, like her wire dreads, neck pieces and Wires.
Originally i wanted to make her ready for software rendering in V-Ray for Maya which makes me follow a pipeline of not caring about the polycount but making the most detail i can get but teacher suggestion persuaded me to make it running in Unreal Engine 4.
But working in the pipeline made me have to switch and optimize her since she wasnt being software rendered anymore. Her Polycount is at 94K and in the future i wish to optimize it even further
When dealing with this i also wanted to get the detail on everything to look top quality, so i made 8 UV sets for her
Sculpting
Program: Zbrush
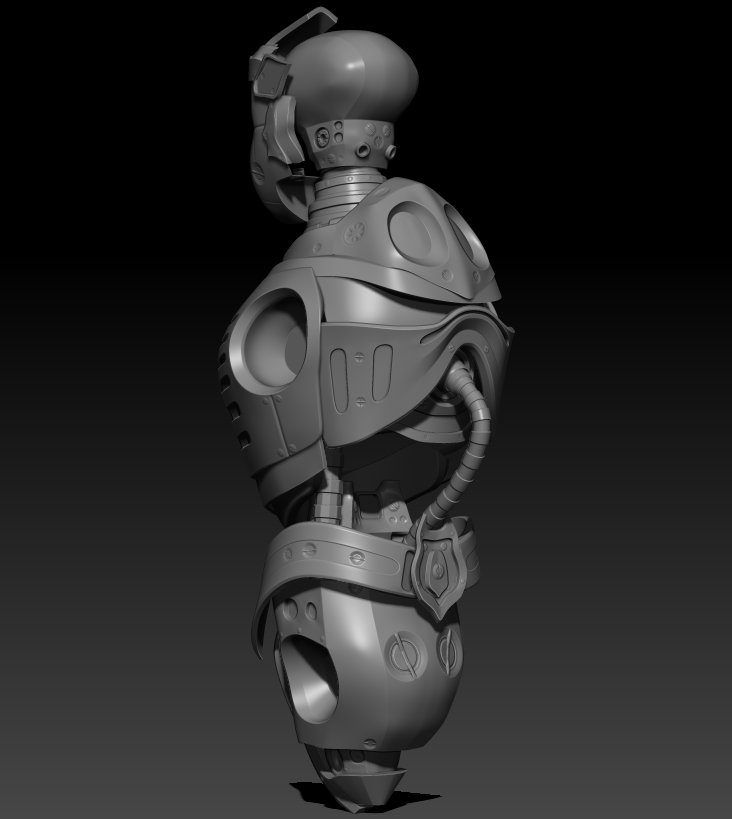
For a while i dwelled on a lot of the robot details, what should i put on normal and what should i put on the Geo?
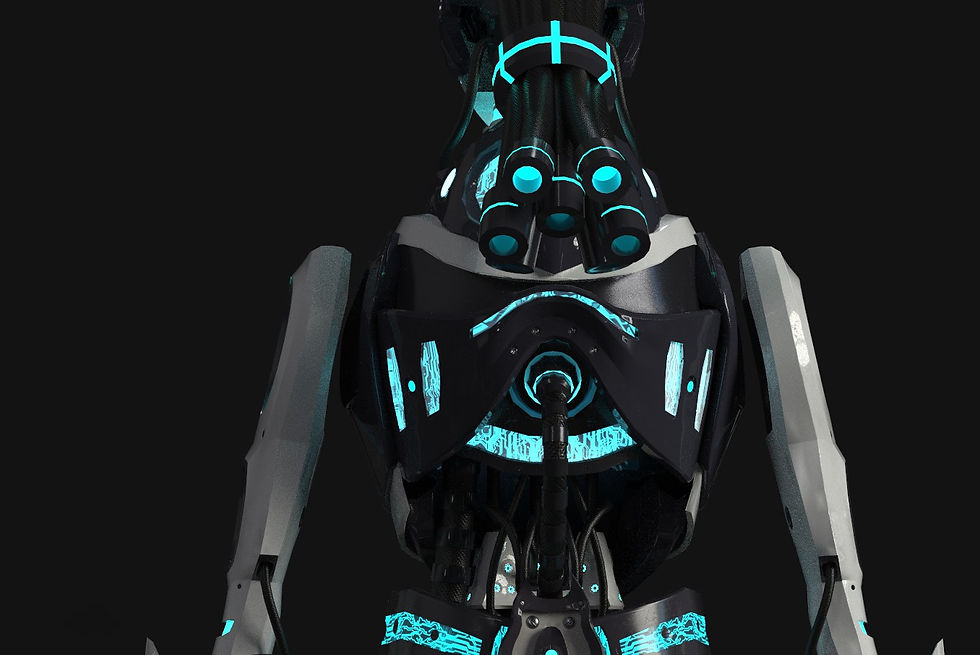
I decided to gather a few of the alphas off of Zbrushes web site to make the robot screws and panel detail
i also used the Zbrush GoZ within Maya to make the creased edges that i used in maya because i found that importing my meshes manually into zbrush would be very tedious and take up a bit of time. also i found when importing my creased edeges would not preserve when i subdivided my meshes in Zbrush.
Most of this Robot didnt need to be sculpted in Zbrush since i just needed to get normal detail and smoothness from it. so most of it was Dam_Standard and Standard Brush with screw alphas
i did struggle on the normals and Baking for about a week since i did have about 50 seperate parts on 5 UDIM texture sheets. About a couple tries i used Xnormal to bake out World Space Normals and then convert that to tangent space to get better results.


Texturing
Program: Substance Painter
When it came down to texturing her, i had to keep in mind that i was using 8 UDIM tile sets for this, so Programs to choose from were limiting. Luckly my school had just obtained licenses for Substance Painter and Designer
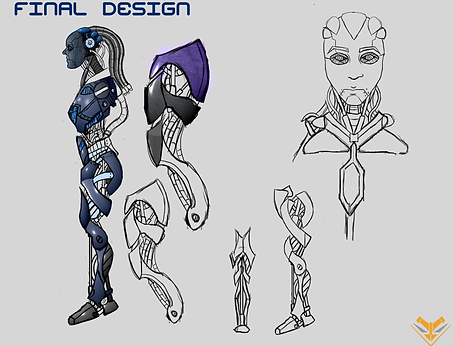
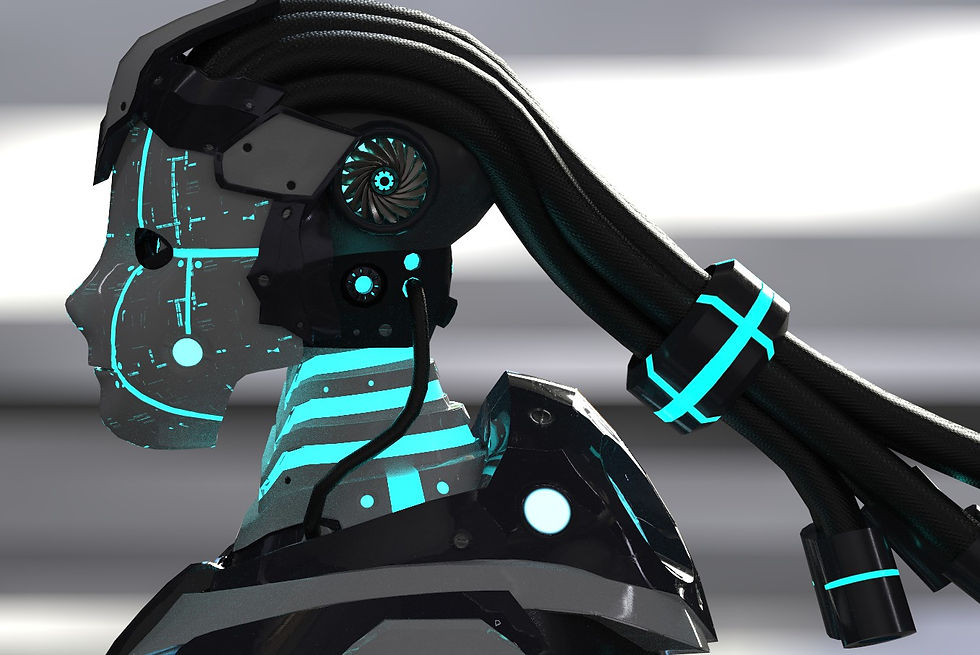
i spent a bit of time just trying to come up with a good color design for her since my concept i drew was not completely my final design. i still wanted to maintain that human robot color design. so i went with a dark blue to the trim design
When coming up with the design of her i really wanted to make emissive maps a big part of her design but also not make it distracting to people who view it.
When working on normals i also brought in the Alphas that i used in Zbrush to apply more detail and break up more pieces on her texture and normal, encorporating height detail into it which substance will bake that into your normal upon export
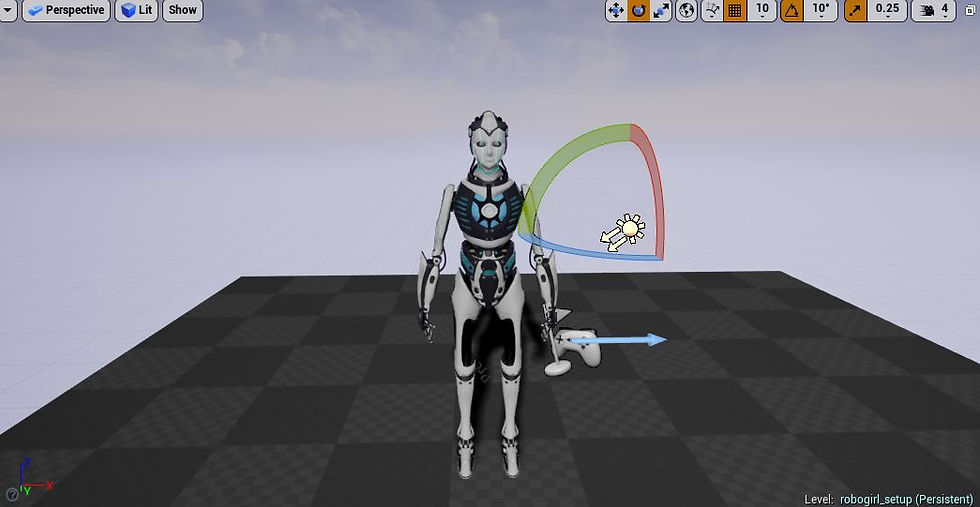
Rigging and Engine intergration
Program: Maya/Unreal
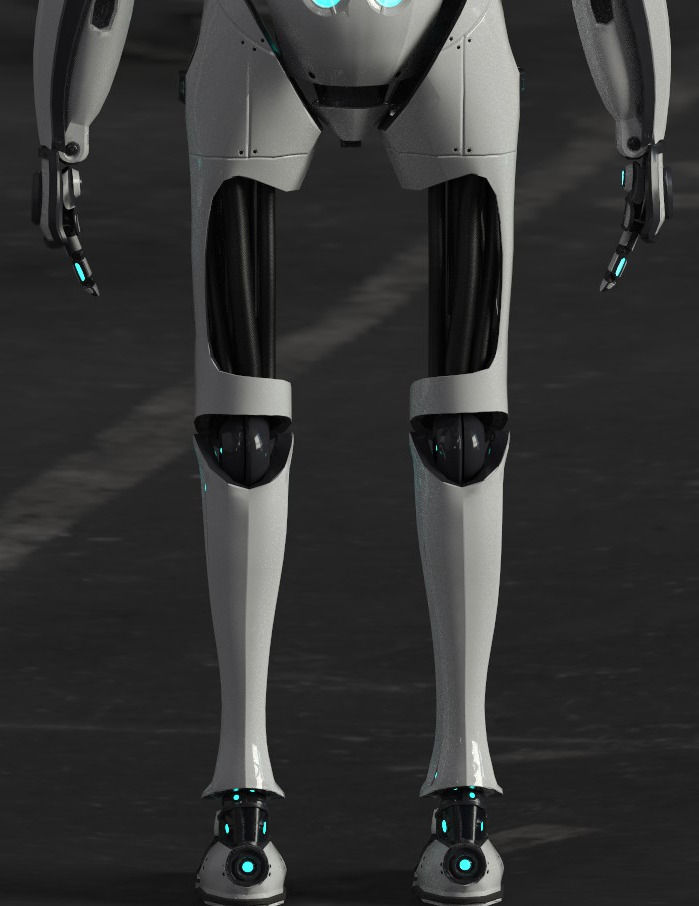
To intergrate her into Unreal i had to rig and weight her properly. And because she was hard surfaced modelled the process was easy to complete the tasks. i pretty much used the humanIK system and flooded parts to joints.
Intergrating her into unreal was fairly simple and went without too much trouble getting mixamo animations into engine, and following Unreal's 3rd person character tutorial i was able to make her playable in engine with usable controls such as a walk, run, jump and zombie Crawl
Aswell i wanted to change up her emissive color so i created a material instance to make her color change aswell as change up her metallic and roughness levels.
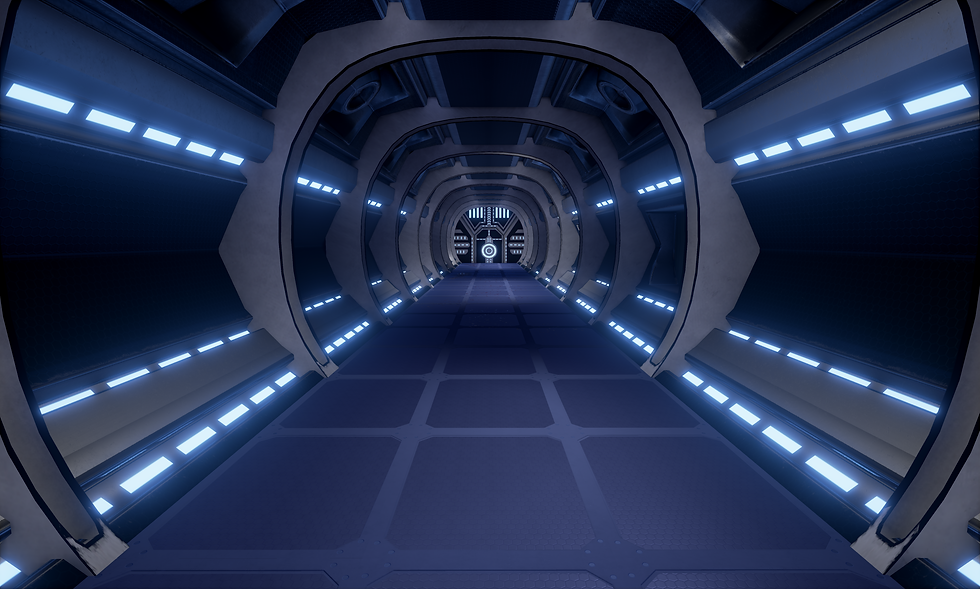
and to set the mood i made about 5 modular pieces to make a little game level for her and put in a few blood decals.